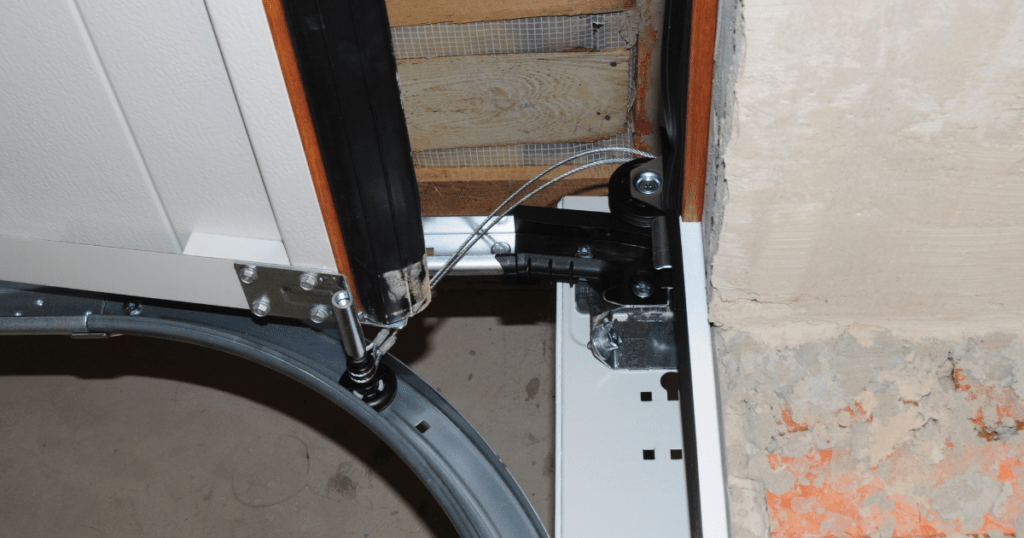
Over the course of a garage door’s life, it may become misaligned for a variety of reasons. Accidentally backing up into it with a car, for example, can cause a door to shift off-center and not operate properly. Likewise, day-to-day use over an extended period may lead to garage door parts wearing out.
In the event you’ve noticed your garage door is no longer opening and closing smoothly and appears off-balance, a good place to investigate first is your door’s tracks. Signs that the tracks need attention include:
- The door appears off-balance or crooked
- A door binds, which also results in it being difficult to open and close
- The door begins to rub against its rubber molding
Below we provide an overview of how to identify when a garage door is misaligned, some of the common reasons its tracks might require adjusting, and ways to address these issues.
 Ways to Address Three Common Garage Door Alignment Issues
Equipment You’ll Need
- Screwdriver
- Clean cloth
- Compressed air
- Level
- Rubber mallet
- Wrench
Off-Balance or Crooked Door
Inspect Your Door’s Springs and Cables
Given the importance of these internal parts, you’ll want to visually inspect for anything unusual, such as breaks, wear, or warped. Should you find one of these issues, reach out to a garage door repair professional for help as part replacements can be dangerous because of the door’s weight and tension.
Inspect Your Garage Door Tracks
Like the springs and cables, look for signs of wear and tear or potential obstructions. Again, we recommend getting a repair professional to assist with any replacement needs. For cleaning the tracks, use a clean cloth or some compressed air but make sure to not grease the track afterward. Doing so can lead to the rollers slipping and causing the door to not open or close properly.
Binding
Adjust the Position of Your Door’s Track
After loosening the screws that attach the track to the wall, tap the bottom of the track gently with a rubber mallet. This will help to position it to the correct spot. Then, use a level to ensure the track is straight up and down. Once level, tighten the screws again. Repeat these steps on the other side.
Rubbing
Close the Gap
Begin by loosening bolts that secure every track to its lower track bracket using a wrench. Then move the track until there’s only a 1/4- inch gap or less between the door and molding. Tighten the track, then verify that it’s securely in place.
Need Additional Help? Our Team is Here for You
If your garage door is still facing issues or you don’t feel comfortable doing repairs yourself, get in touch with the Overhead Door Company closest to you.

